-
Showing posts with label Northshore Days. Show all posts

11/4/12

What Inspires Natalie of NorthShore Days? (A Necklace Tutorial)

My friend Natalie is sharing what inspires her at Inspiration Cafe today...


Look what she is sharing today...


 "I can't tell you how much fun I had creating this necklace... its so simple to make and so rewarding to see the finished results."

Head over to Inspiration Cafe to see what inspires Natalie and 
for the tutorial on this beautiful necklace!


     Image Map


Continue Reading ...

11/1/12

From the Shores of New Zealand

A little package arrived ~ all the way from the shores of New Zealand.

Inside were two precious handmade bracelets.

Someone clearly knows how much I adore the beach.


A silver shell charm.


A seahorse.

 
What's my favorite?
It's got to be the big, round, turquoise beads.
Wait, it might be the beads made out of shell.
Okay, it's definitely the pearly, seafoam green beads.
But what about the translucent white beads? 
They all complement each other perfectly!!!


Then there is this bracelet. 
A silver chain with a double heart charm and a green glass bead. 
Green is my favorite color.

  Beautiful!
  
I want to wear them all the time.


AND when I'm not WEARING them...
I want to leave them DISPLAYED for everyone to ADMIRE.


Speaking of admiring.

My package also contained this sparkly Sun Catcher.
I hung it in my kitchen window where I can admire it daily. 


The winter months are quickly approaching. 

I will be missing the sunshine when the skies are grey.


It wasn't very promising that we would see it catching any sun today...

The window all splotchy from raindrops.


Look what happened ~ we got a surprise sun break.


It catches the rays of light and multiplies them.


It warms my heart and brings a smile to my sun-loving face.

My secret gift-giver is Natalie of NorthShore Days.

Thank you Natalie!

If you are interested in seeing more handmade treasures by Natalie ~
you can
 visit her Etsy Store by clicking below


Visit her blog, Northshore Days, for jewelry tutorials, DIY, and many Precious Moments. 


P. S.  Natalie's Handmade Trinkets will make wonderful gifts for the holidays.


     Image Map

Continue Reading ...

8/26/12

Wrap Bracelet with Natalie of Northshore Days


Hey Everyone,

Hope you all had great weekends. Its time for Inspiration Cafe again - yay, so lets get started.

Today  I'm going to show you how to make a Wrap Bracelet


There are so many of these wrap bracelets around blog world with loads of great tutorials. I have to admit that when I first saw these bracelets popping up on Pinterest I thought they would be too difficult to make. That was until I saw a tutorial from Happy Hour Projects. So simple and so easy.

Here's what you need:
Cord, cotton for sewing, a needle, beads (uniform in size) and a button. 
I also used a clipboard to secure the cord so that I could work neatly. 

I roughly measured my wrist and allowed for a bit extra. Double the length and cut the cord. At the bend in the cord (halfway mark) knot the loop for the closure, make sure that your button will fit snugly through the loop.

Here's how to sew it:

Thread the needle with a double thread and secure to the cord.
I worked from left to right in a figure 8.

Thread the first bead onto the cotton and pass under the right cord.
Loop over the right cord and thread back through the bead.
Pass under the left cord and loop over - thread the next bead on.

Again pass under the right cord. Over.
Thread back through the bead.
Under the left cord and over. Thread the next bead on.
 

Continue until you arehappy with the length, then secure the end of the cotton onto the cordand cut off. Thread the button onto the cord ends and secure. I likedthe end pieces sticking out but you can cut them off for a neater look.
 
  
Pretty easy right?


I love it - its by far my favourite bracelet to wear. And I get loads of compliments and "where did you buy its" when I wear it.


 I haven't had time to make more yet, but I definitely will, and I think next time I will make it longer so I can wrap it twice around my wrist.


I hope you enjoyed Inspiration Cafe today.  Be back next week to see what Mary from Sweet Little Bluebird has in store for us

Take care

xxx


Photobucket
Continue Reading ...

7/16/12

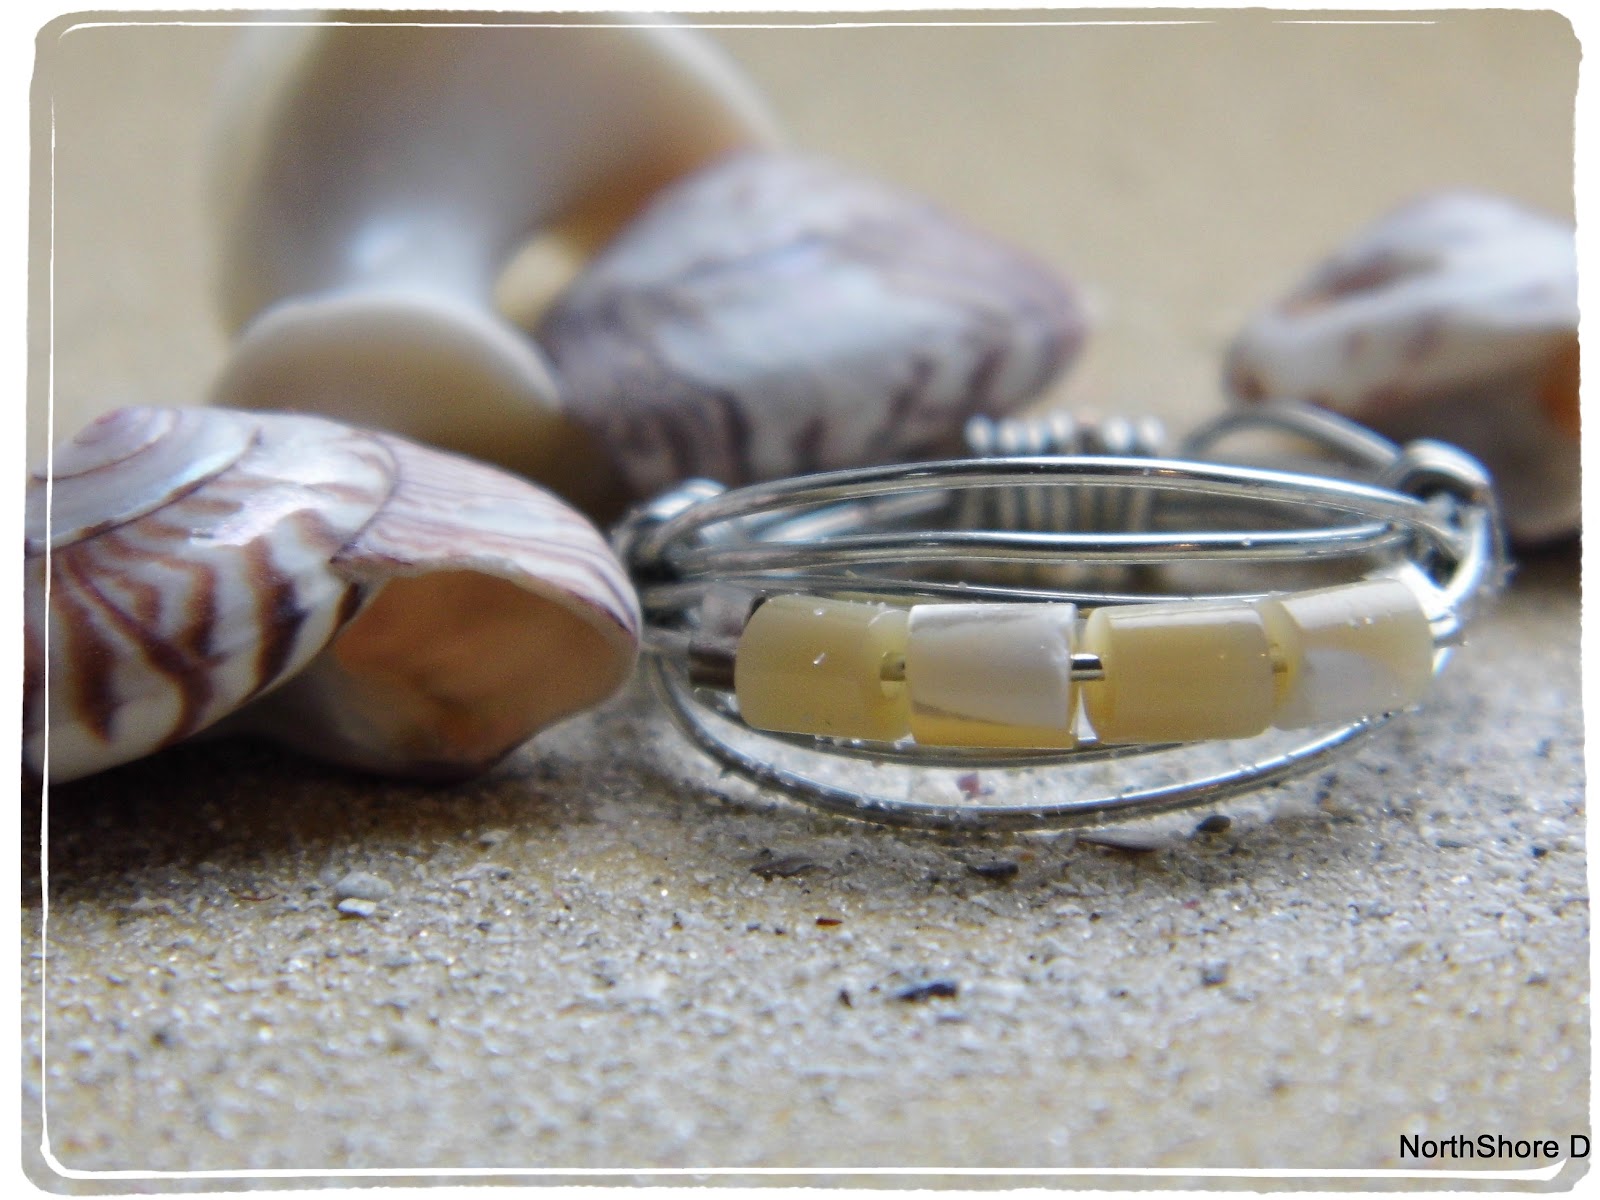
Ocean Shell Ring by Northshore Days ~ Inspiration Cafe #7

Welcome back to Inspiration Cafe! 
It's time to learn some more jewelry making skills with Natalie:


Hello Everyone and welcome to round 2 of Inspiration Cafe, we hope you have been enjoying the series as much as we have.


So...grab your cup and settle in for an easy ring tutorial..

It is super easy to make, really! Don't let all the photo's daunt you. 

You will need: a few beads of your choice , 18-20 gauge jewelry wire, 2 crimps, long nose pliers, and something to use as a measure for your finger size (ideally you would use a ring mandrel, but the lid of my nail polish bottle worked perfectly)

I have taken a picture of every step so if you follow those without evenreading my instructions - you will be fine... Lets start..

Using the wire, measure your finger, gently place around the mandrel/bottle lid and wind around a few times. Remember to keep the wire tightly packed together and it should stay in shape while you are handling it


Cut the wire from the roll and work with the coils you have made. Thread a crimp on first then your beads, then another crimp.


I found it easier to keep placing my ring onto the lid to keep the coils together and to keep reshaping as I worked. When you are happy with the location of the beads, then its time to neaten the ends by folding them at the bottom, as pictured. Use the pliers to keep the wire neat and tight. Make sure you have no sharp ends sticking out.


Once the ends have been neatened off, then tighten the crimps on either side of the beads.
To add strength to the ring and to help keep its shape - I added extra wire to the sides (optional) just by winding a piece around andending off as I did before. Give the outer coils a little pull so they frame the beads and voila!!


Now its time to show off your new ring, wear it and take photo's of it...


Easy right? Sooooo easy!!!


We thought it would be fun to match the ring with the Beach Inspired Bracelet from round one. Worked perfectly don't you think?

I hope you enjoyed the tutorial. Remember to let us know if you make any of our creations, we would love to see them.

Don't forget to like us on Facebook so you can get more updates as we create, and visit again next week to see what Mary from Sweet Little Bluebird has in store for us.

Have a great Monday and take care

xxx


Photobucket
Continue Reading ...