-
Showing posts with label cabinet door. Show all posts

5/28/13

Windows, Doors & Drawers ~ Repurposing Household Items

I have an addiction.  I can't seem to get enough and it's already affecting my everyday life.  I don't know what will happen if I don't get my fix.  Yes, it's true.  If you aren't careful you may become addicted too!

The truth is I'm addicted to repurposing, recreating and reusing discarded furniture and household items.  It's a good thing there's no shortage of cast-off items to keep me at it indefinitely.  And for that quick shot of inspiration I like to visit Hometalk to see what other's have been up to.

Some of the items that are so often discarded can be easily repurposed into amazing home furnishings and decor.  The possibilities are endless!  So I thought I would share just a few ideas I found on Hometalk just to get your creative juices flowing.  I have an entire board devoted to the repurposing of Windows, Doors and Drawers and I'll continue adding new ideas each time I find them.


Find all of the above projects and many more in detail on my Hometalk Board 'Windows Doors and Drawers'


Next time you see that stray window, door or drawer on it's way to a landfill you may just want to grab it and see what you can make of it.

Wonderful windows re-purposed:

Design Dreams by Anne created this adorable little greenhouse with some old windows.

This amazing old window headboard was shared by Liz Marie Blog.

Wildflower Creative has a thing for vintage windows and I have a thing for how cute this photo display window turned out!

We've had fun with old windows here at Pondered Primed Perfected too, like these Porch Signs we created.


Delightful door DIY's:

The Pink Hammer Blog fashioned this fabulous desk from a door.

Tammy of Deja Vue Designs didn't let this roadside find pass her by.  
Instead she created a one of a kind hall tree just by adding a few key details.


How about this Privacy Screen put together by Not Just a Housewife?  
I totally need one of these on my back deck!

Now for some drawer redesign:

Proud Pooch Mama, Roeshel of DIY Showoff, is the creative force behind this drawer doggy bed!

Brightnest showed us a fun way to reuse those little cabinet drawers as planters.  Oh so cute!


And let's not forget the cabinet doors themselves:

Beth used this cabinet door as a canvas.  It looks so sweet!

Jaime of Crafty Scrappy Happy created some stylish storage with these little cabinet doors, some hooks and some knobs .

For even more Window Door & Drawer ideas visit my board at Hometalk


Thanks for stopping by today!

Sherry


Continue Reading ...

12/7/12

Cabinet Door Makeovers at P3

As I was creating an updated Project Gallery, I noticed how many cabinet door makeovers I've finished.   I thought I would pull them all together here in one post and let you take a look.  I have some ideas for a few more...I'll add them when they are done.

My Handyman scored a stack of these unfinished doors at a cabinet shop that was shutting it's doors for good.  We got these doors for about 30 cents a piece.  Great price for a DIY project, if you ask me!

Click on the photos below to be taken directly to each post:

Time Zone Wall Art

Decorative Serving Tray

Rustic Chalkboard with Family Name

Cheese and Wine Pairing Tray
Hot Chocolate Station & Tray Tutorial

Weekly Menu & Shopping List Chalkboard

And if you haven't stopped by Inspiration Cafe today you should go meet our Guest Poster, Marci from Stone Cottage Adventures.  She's sharing some pretty and very unique jewelry making techniques.


Sharing with:
Continue Reading ...

12/23/11

Rustic HomeMade Chalkboard

We are the last minute gift making King and Queen!!!

We have been working on this chalkboard for awhile now so it wasn't completely last minute. It took some trial and error. We wanted to make our own chalkboard paint as we had heard about it working well for others.

I did an Internet search and found that there were a couple of different "recipes" out there.

1. Paint and Plaster of Paris

     or

2. Paint and Unsanded Grout (one cup paint and 2 TBSP grout)

We already had paint and unsanded grout on hand so that was our recipe of choice.

We mixed our ingredients well (or so I thought), taped off our surface and started painting.


It was a bit chunky even after all of the mixing and squishing that I had done. I really had nothing to compare it to so I trudged on. 
Maybe it takes an electric mixer to get this concoction to smooth out?

Maybe it will settle down once it has been applied to the surface and dries?

After the first coat dried it was still rough and some of the little chunky areas would "burst" and have a spot of whitish grout showing through.  

Grrrrr. Really? Will this work after all...or will we be down at True Value buying a can of spray chalkboard paint?

My Calm and Collected Partner sanded it down again and we started over. (This man really balances me. You don't even know.)

He put some grout into an empty spice container.  Then he brushed the paint onto the surface, sprinkled the grout over the wet paint, and brushed the surface again. Wallah!

Once we had the chalkboard surface figured out, I stained the "frame" of the chalkboard.  This was done with a small piece of towel that had been saved in our rag bin and some Minwax stain.


Then we added some simple hooks for keys and a bucket to store chalk and an eraser in...or whatever little things need to be stored.  I added the personalization by printing our friends last name and wedding year with my trusty white Pen-Touch paint pen. 

Scott poly'd the frame and we called it good.  This was meant to appear somewhat rustic and home-made.  We don't really want our projects to look "perfect" or appear to be factory machined and finished.  There is something to be said for well-aged, patinae'd, or distressed looking items.  Whether they have achieved that look naturally through age, or by someones hand.  It adds personality and character if you ask me.  :)

Our finished chalkboard was created using only the items we had on hand (including:  unfinished wood cabinet door, black semi-gloss paint, unsanded grout, Minwax wood stain, painters tape, empty spice jar, towel remnant, paintbrush, sandpaper, drill, mini hooks, silver metal bucket, and a metal hanger for back).

Here she is:


And if your last name is Johnson, and you are Treasured Friends of ours, then this is your official unveiling.  Merry Christmas!!!  Come by and get your chalkboard today...we love you!

All Our Love and Best Wishes for a Merry Christmas and Superb 2012!!!

Scott and Sherry


Continue Reading ...

11/27/11

Cabinet Door Turned Tray


I hope everyone had a fun, family, friends and food-filled Thanksgiving holiday!  We enjoyed our time back in my hometown with some amazing family and friends.  Couldn't have asked for more.  So thankful for all of the blessings in our lives.  On our way out of town we stopped at a couple of thrift stores to see if they had anything we needed for our projects and Hallelujah!  Check out these finds:
Cushions just perfect for our new Entryway bench {$1.00 each}:
These will eventually be recovered but I may leave them this color for the Christmas Season :)

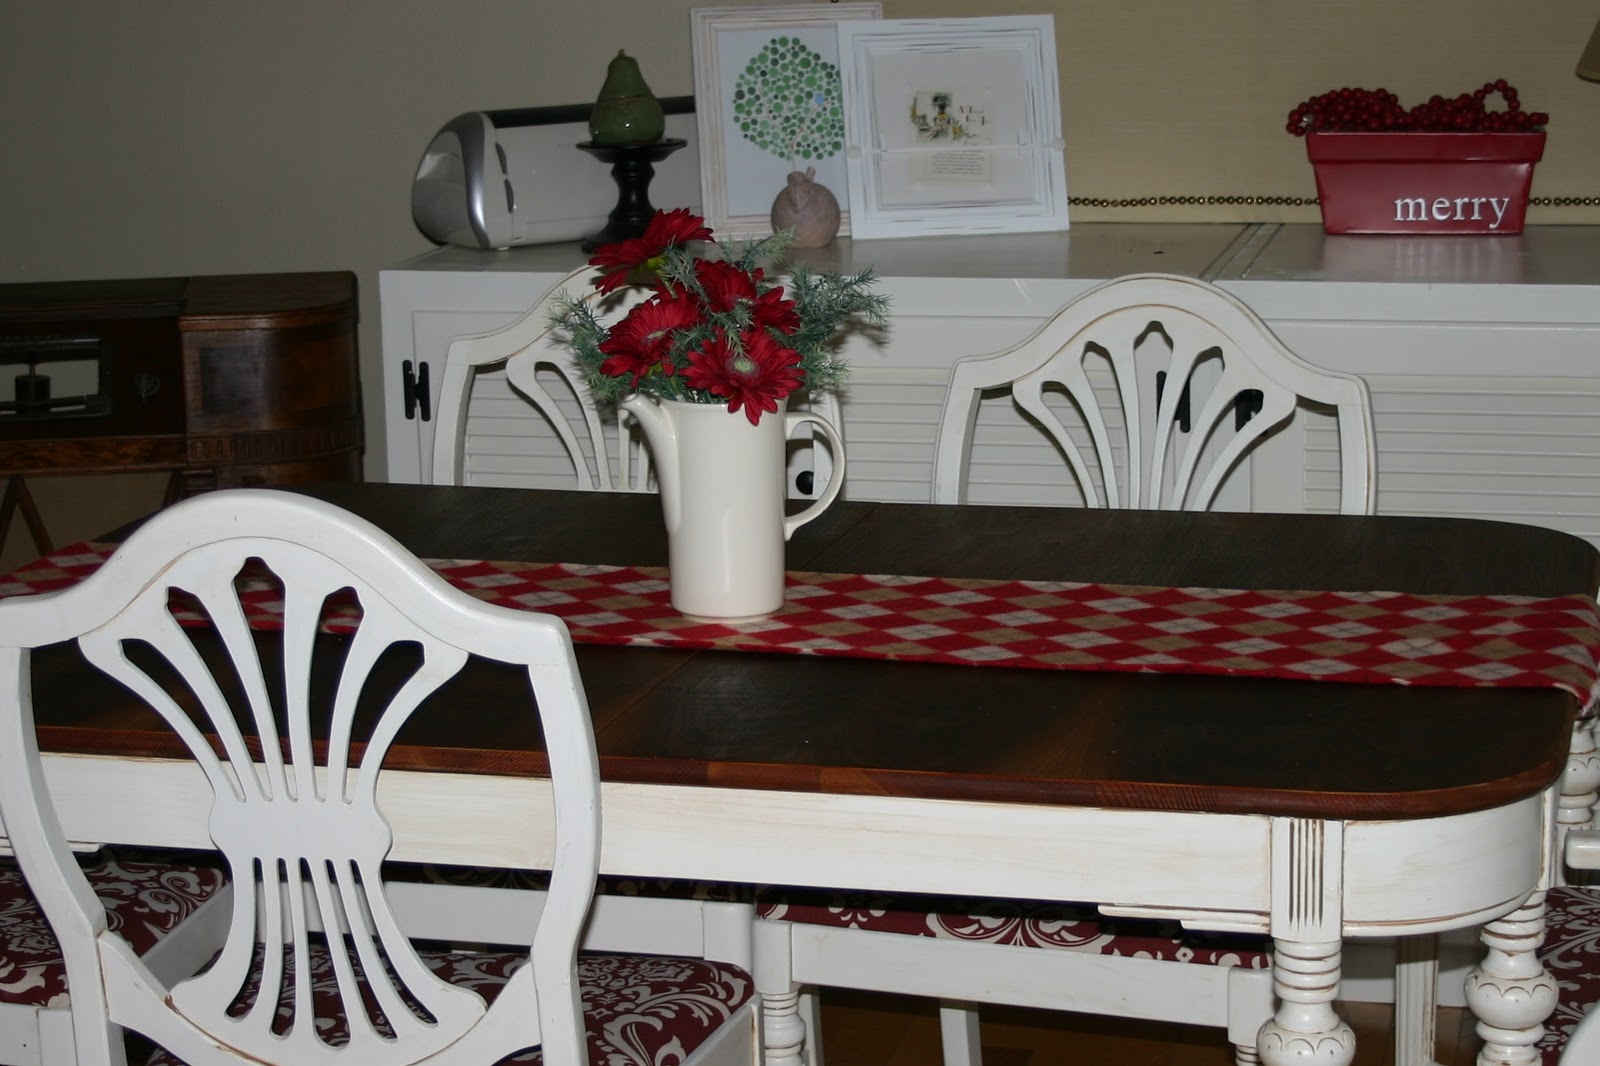
I found a piece of fleece {50 cents} ~ I think it makes an adorable Christmas table runner.  I may just swoop it up and wear it as a scarf though...can't decide.  ;)  What do you think?

And here it is on the table:


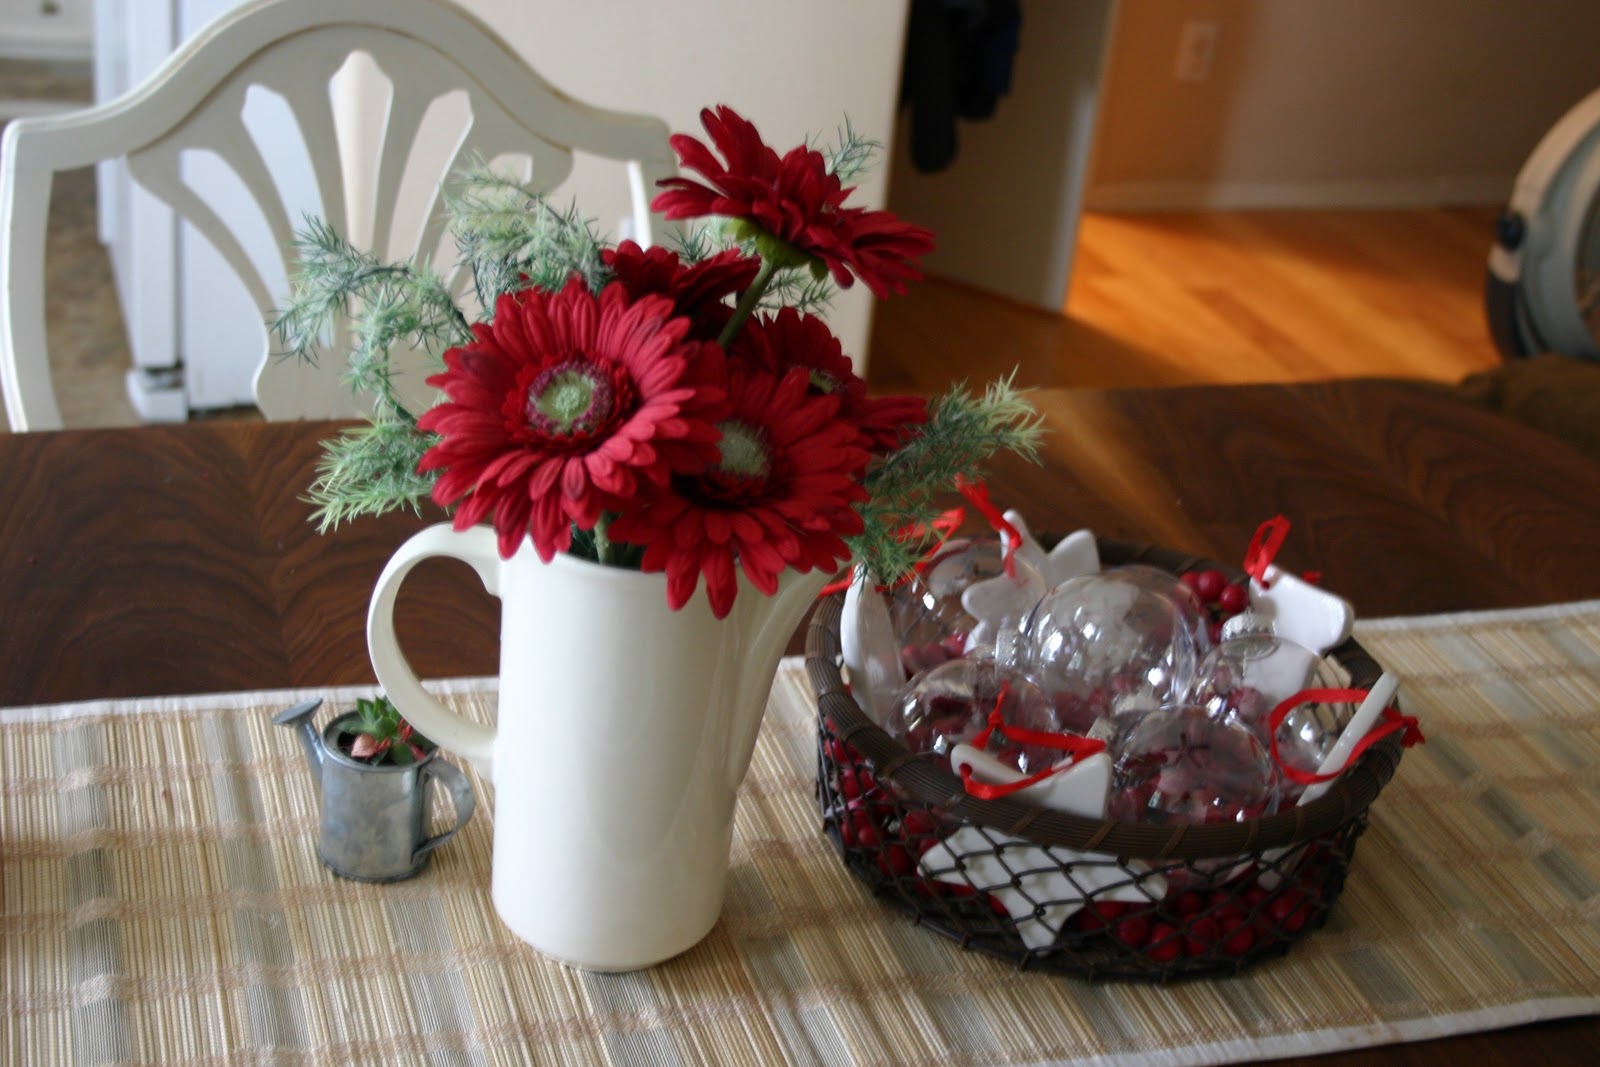
See those flowers?  I wandered aimlessly around Michaels on Black Friday for about an hour ~ carrying silk flowers that I wanted for Christmas decorating but I just couldn't justify the price.  (Might have been something to do with the lack of sleep!)  When we stopped at the thrift store I found these beauties for 25 cents!  I have never been a big fan of fake flowers but these are gorgeous and who has a fresh flower budget anymore???  That adorable metal tin in the background that says "merry" was only 49 cents.  The cranberry garland in the picture below was 75 cents per garland and the white cookie-cutter ceramic ornaments were 50 cents each after the 50% discount at Michaels!  Those and the clear "glass" ornaments are all I ended up buying at Michaels after all of that wandering...they were completely sold out of vinyl for my Cricut and their selection of Cricut cartridges was sad.  I'm so disappointed.

It's beginning to look a little like Christmas around here...

Look at those flowers!  SCORE!!!


I finally got around to working on one of my cabinet door upcycles today.  My Treasure Hunter Hubby went out a few weeks ago to check out an old 1930's radio cabinet listed on Craigslist and happened upon an amazing find ~ some unfinished  blank canvas, cabinet doors of varying sizes.  What a treat!  Now we are in the brainstorming and "recreating" phase with these doors.   What can we create!?  This is the fun part for me!  I have tons of ideas pinned on Pinterest and I'm just dying to try them all out.  Not enough time in the day.
Well, there was a cabinet~door~turned~tray that was one of the first things I pinned on Pinterest and I have been working on my own version. 

Here is my inspiration piece from the CraftyNest:
Check out the full tutorial at:  http://www.craftynest.com/2008/12/salvaged-cupboard-door-serving-tray/

And here is what I've been working on today:

Cabinet door with white paint  (clearance pulls found at Lowes)

I cut my design out of cardstock on my Cricut Expression die cut machine.
I used homemade "mod podge" to attach my design to the surface.


The knobs are not even attached yet because I'm too lazy I don't feel like venturing out into the rain to get the drill out of the shed.  I will poly the entire tray for durability (maybe when I get around to applying poly to the table and chairs, right!?) 

For now it can sit there and look pretty while I go read the directions on my wainscott wallpaper!!!


Happy Sunday Friends,
Sherry


Continue Reading ...