
Welcome back to Inspiration Cafe!
It's time to learn some more jewelry making skills with Natalie:

Hello Everyone and welcome to round 2 of Inspiration Cafe, we hope you have been enjoying the series as much as we have.

So...grab your cup and settle in for an easy ring tutorial..
It is super easy to make, really! Don't let all the photo's daunt you.
You will need: a few beads of your choice , 18-20 gauge jewelry wire, 2 crimps, long nose pliers, and something to use as a measure for your finger size (ideally you would use a ring mandrel, but the lid of my nail polish bottle worked perfectly)
I have taken a picture of every step so if you follow those without evenreading my instructions - you will be fine... Lets start..
Using the wire, measure your finger, gently place around the mandrel/bottle lid and wind around a few times. Remember to keep the wire tightly packed together and it should stay in shape while you are handling it

Cut the wire from the roll and work with the coils you have made. Thread a crimp on first then your beads, then another crimp.

I found it easier to keep placing my ring onto the lid to keep the coils together and to keep reshaping as I worked. When you are happy with the location of the beads, then its time to neaten the ends by folding them at the bottom, as pictured. Use the pliers to keep the wire neat and tight. Make sure you have no sharp ends sticking out.

Once the ends have been neatened off, then tighten the crimps on either side of the beads.
To add strength to the ring and to help keep its shape - I added extra wire to the sides (optional) just by winding a piece around andending off as I did before. Give the outer coils a little pull so they frame the beads and voila!!

Now its time to show off your new ring, wear it and take photo's of it...

Easy right? Sooooo easy!!!


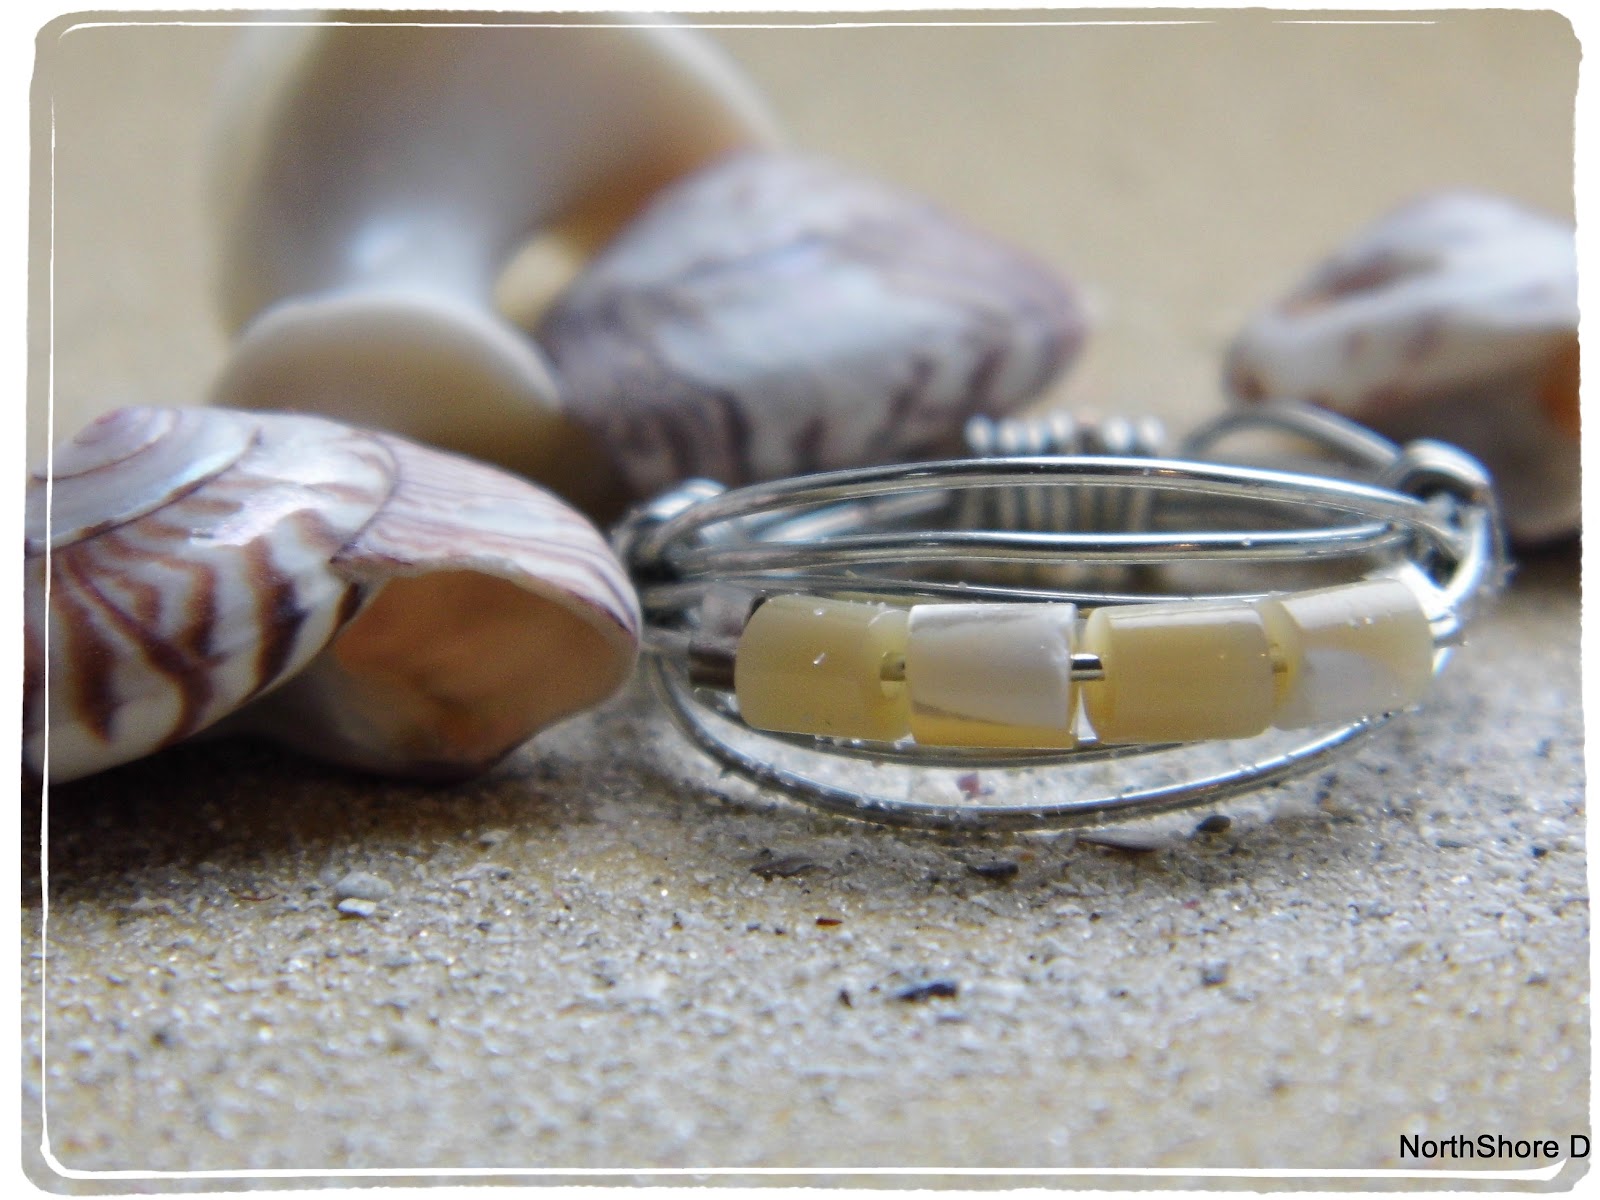
We thought it would be fun to match the ring with the Beach Inspired Bracelet from round one. Worked perfectly don't you think?
I hope you enjoyed the tutorial. Remember to let us know if you make any of our creations, we would love to see them.
Don't forget to like us on Facebook so you can get more updates as we create, and visit again next week to see what Mary from Sweet Little Bluebird has in store for us.
Have a great Monday and take care
xxx

What a gorgeous ring - thanks for the inspiration! Thanks for stopping by my blog - I just signed up as your latest follower & I look forward to popping back soon!
ReplyDelete♥
Melissah
Thank you for coming to my blog and following!! I'm so happy to be following you and to get to know you :)
ReplyDeleteStacy