-
Showing posts with label mod podge. Show all posts

10/7/12

Welcome to Inspiration Cafe ~ Distressed Donna Down Home

Natalie - NorthShore Days


I am so excited to be invited as guest host here at The Inspiration Cafe.  I have been following them for a while and love their Monday features. 

I am Distressed Donna Down Home.  I am a retired middle school English teacher.  I haul and refinish rusty, crusty stuff to resell in my booth at a local antiques mall.  I started blogging back in April and have written at the speed of light ever since.

My posts are as scattered with ideas and projects as my brain is.  I love photos, but am chronically bad at taking them.


Hang onto your coffee cups or iced sweet tea.  It's going to be a bumpy ride!

For this post I chose three unsuspecting little benches.  I love to stack these in vignettes.  I have chosen a bird theme for these and some painting and some distressing and some stenciling and some stamping and some torn cotton and some tags.

Well, you'll see - I just go too far sometimes.
I bought some sample pots of Valspar in (from the left) Summer Sky, Rain, and Prairie.

Very close in shades of blue-gray.  They turned out beautifully and most would stop here.

Not me!
 I hopped over to The Graphics Fairy and chose a nest for the round bench, a dove for the small bench, and two black and white images - a bird and a nest - for the large bench.

On the two colored images, I used the regular Mod Podge method.  Thin coat on the back of the image and placed carefully on the surface and let dry.


 On the large blue bench I decided on the placement of the bird and the nest.  I carefully cut the images out so that there was just a small border of the white paper.  When you are placing the image, remember you will be reversing it so it will actually be on the opposite side.
I put a coat of Mod Podge on the top of the bench and placed the images face down.  After gently smoothing them out, I let them dry overnight.

The next morning I wet the back of the image with water. When the paper soaks up the water, you gently rub the paper backing to release it from the ink.

This takes practice!!!
 Here the bird image is revealed with the nest yet to go.

The results are really worth the effort.  If you mess up, you can:
A.  Leave it and say it was on purpose.
B.  Sand it off and start again.
Finished - finally.  After rubbing the image off, let it dry and then sand with a cheap rough paper towel or a knee-high stocking or if you are fancy, super-fine sand paper.

If you would like, you may go commit a crime - you have probably rubbed your fingerprint off!

 Yes, I know, most would be happy and stop here.

Not me!

I took the benches outside and gave them a distressing using a heavy grit sanding block followed by a fine grit one.

The round bench got a heavy distressing.


The small one got a medium distressing.
 And the large bench got a light distressing around the edges.


Most would stop here.

Not me!
This next part is  Danni's favorite thing to do!

STENCILING!!!

I decided the round bench with the nest needed a bird on either side of the legs.

First stencil in Folk Art Barnwood.

Move the stencil about an eighth of an inch to the upper right.

Stencil the bird in Sea Mist and the leaves in Clover.

Using a fine liner brush and Linen paint lightly create highlights where natural light would hit the object.

I also gave some details to the bird and the leaves to make them pop.

The small bench did not need much extra - the distressing really brought out all the different coats of paint it had endured during its life.

The name of this print is "A Dove At Sea" so guess what?  I pulled out my stamps and put the title on it!
I thought of something special for the big bench - a skirt!

I love tearing up cotton calico.  I purchased this fabric because it went with all three benches.  My sewing machine is hiding somewhere in the house so after ripping and fraying one edge, I ironed down an inch.  Using Peel 'n Stick tape, I taped that down.  Simply slip a piece of elastic through there  and you have a skirt for your bench that can be removed when necessary.


 Here it is a skirt for a bench!

 Most would be happy and stop now.

Not me!


I made a small copy of the black and white nest, colored with with pencils, Mod Podged it to a distressed blue shipping tag, made a torn cotton tassel, and attached them to the skirt.

Whew!

All three benches received three coats of satin varnish - I forgot that step somewhere along the way.


Most people would be happy and stop here.

And I am definitely happy!


THE BIG REVEAL


 Baby bench in blue with a dove.


 The round bench in summer sky paint with stenciled birds.

What's that I see?

I know I said I was happy, but I could not resist adding a nest of eggs underneath.


The shy bench with a skirt covering her legs.

If she gets frisky, she can just strip that skirt off!
All three sit outside to pose for a picture.  I must admit to being slightly attached to these three.  I hope you don't regret coming for a visit.  I am sure the ladies at Inspiration Cafe wondered if I would ever shut up, but I am Southern - when we have something to say, we just talk and talk and talk and . . .

Well, you get the picture.  If you ever have the time, come over and visit.

See y'all!


Thanks Donna!
 
Happy Monday Everyone,
Sherry
Continue Reading ...

11/27/11

Cabinet Door Turned Tray


I hope everyone had a fun, family, friends and food-filled Thanksgiving holiday!  We enjoyed our time back in my hometown with some amazing family and friends.  Couldn't have asked for more.  So thankful for all of the blessings in our lives.  On our way out of town we stopped at a couple of thrift stores to see if they had anything we needed for our projects and Hallelujah!  Check out these finds:
Cushions just perfect for our new Entryway bench {$1.00 each}:
These will eventually be recovered but I may leave them this color for the Christmas Season :)

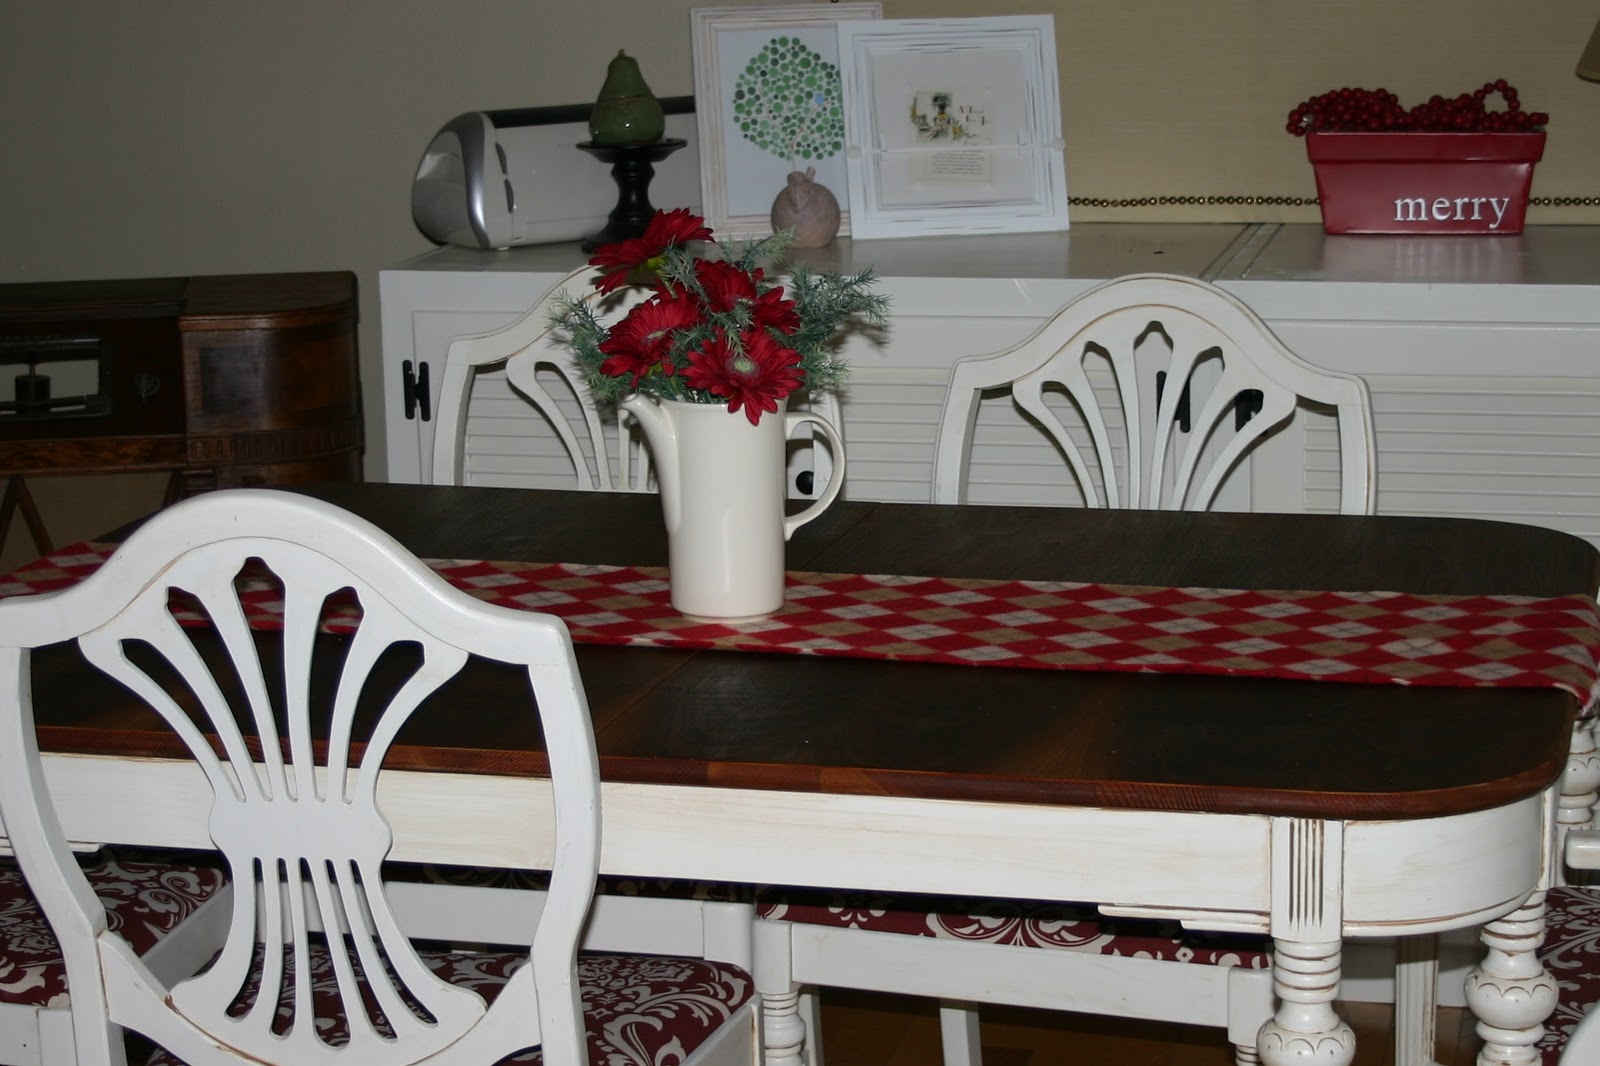
I found a piece of fleece {50 cents} ~ I think it makes an adorable Christmas table runner.  I may just swoop it up and wear it as a scarf though...can't decide.  ;)  What do you think?

And here it is on the table:


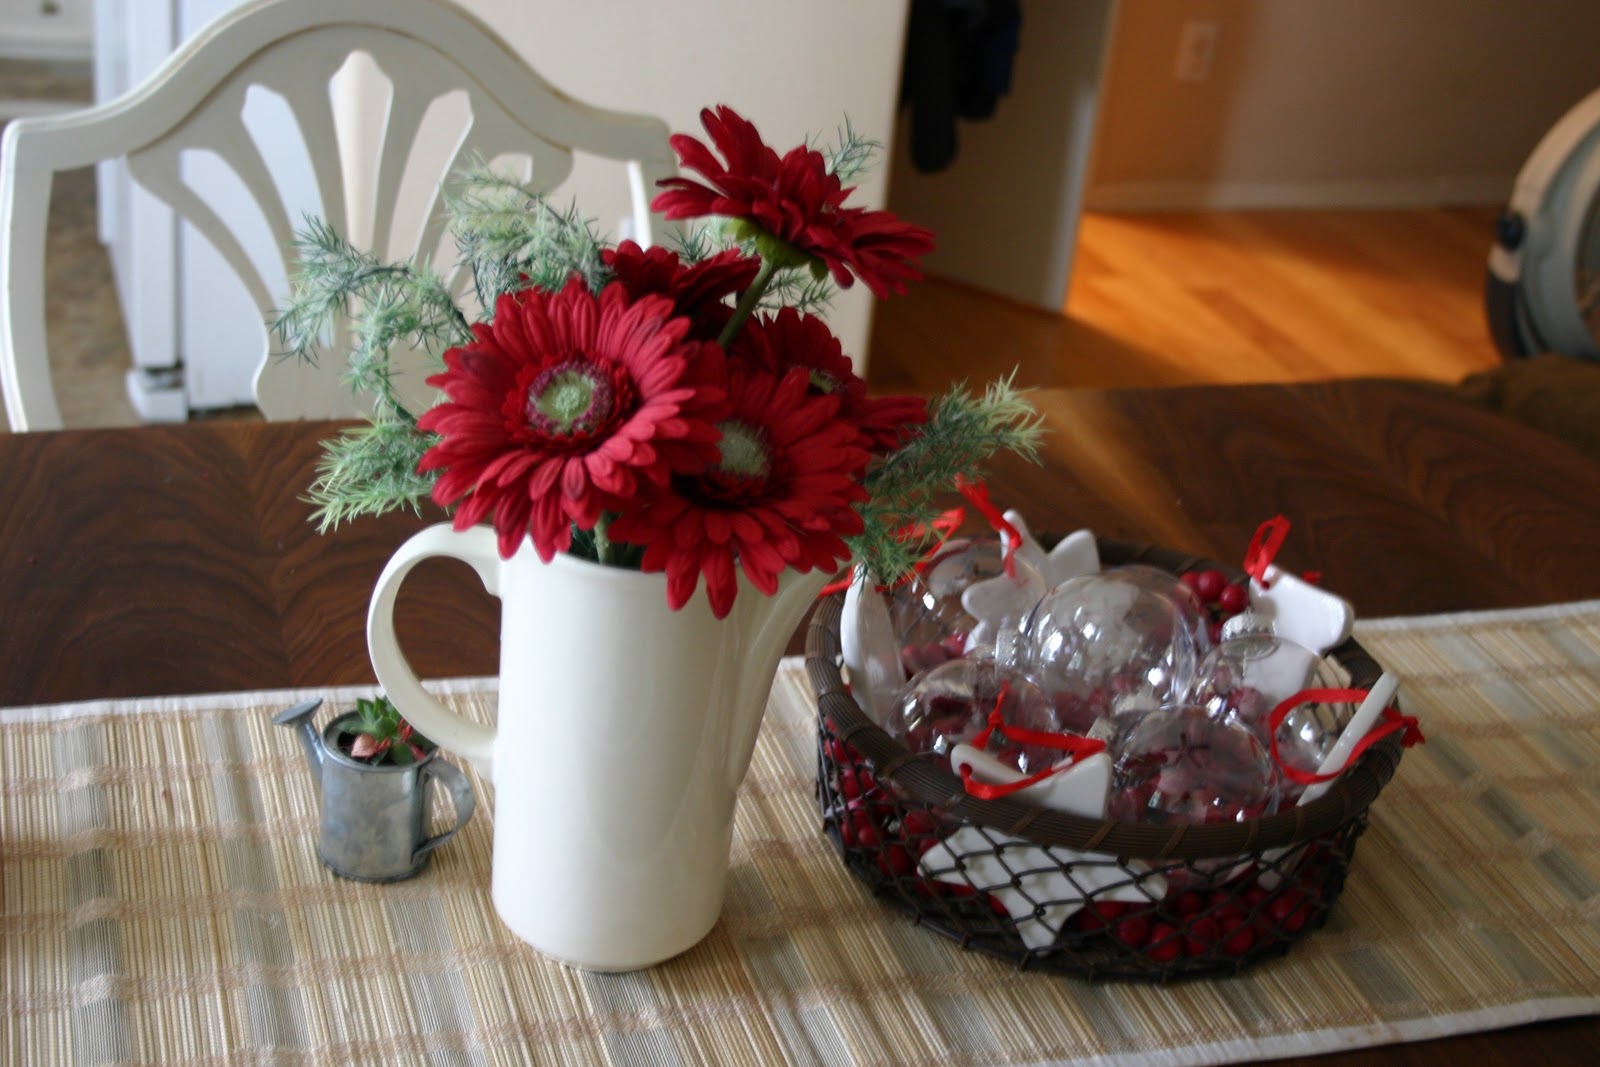
See those flowers?  I wandered aimlessly around Michaels on Black Friday for about an hour ~ carrying silk flowers that I wanted for Christmas decorating but I just couldn't justify the price.  (Might have been something to do with the lack of sleep!)  When we stopped at the thrift store I found these beauties for 25 cents!  I have never been a big fan of fake flowers but these are gorgeous and who has a fresh flower budget anymore???  That adorable metal tin in the background that says "merry" was only 49 cents.  The cranberry garland in the picture below was 75 cents per garland and the white cookie-cutter ceramic ornaments were 50 cents each after the 50% discount at Michaels!  Those and the clear "glass" ornaments are all I ended up buying at Michaels after all of that wandering...they were completely sold out of vinyl for my Cricut and their selection of Cricut cartridges was sad.  I'm so disappointed.

It's beginning to look a little like Christmas around here...

Look at those flowers!  SCORE!!!


I finally got around to working on one of my cabinet door upcycles today.  My Treasure Hunter Hubby went out a few weeks ago to check out an old 1930's radio cabinet listed on Craigslist and happened upon an amazing find ~ some unfinished  blank canvas, cabinet doors of varying sizes.  What a treat!  Now we are in the brainstorming and "recreating" phase with these doors.   What can we create!?  This is the fun part for me!  I have tons of ideas pinned on Pinterest and I'm just dying to try them all out.  Not enough time in the day.
Well, there was a cabinet~door~turned~tray that was one of the first things I pinned on Pinterest and I have been working on my own version. 

Here is my inspiration piece from the CraftyNest:
Check out the full tutorial at:  http://www.craftynest.com/2008/12/salvaged-cupboard-door-serving-tray/

And here is what I've been working on today:

Cabinet door with white paint  (clearance pulls found at Lowes)

I cut my design out of cardstock on my Cricut Expression die cut machine.
I used homemade "mod podge" to attach my design to the surface.


The knobs are not even attached yet because I'm too lazy I don't feel like venturing out into the rain to get the drill out of the shed.  I will poly the entire tray for durability (maybe when I get around to applying poly to the table and chairs, right!?) 

For now it can sit there and look pretty while I go read the directions on my wainscott wallpaper!!!


Happy Sunday Friends,
Sherry


Continue Reading ...